Best paper for photocards: choose by printer, finish, and feel
Compare matte, satin, and glossy photocard paper by printer compatibility, feel, glare, color, and sleeve fit.
Quick answer
Start with paper your printer can feed. Check its supported media and thickness before chasing a high GSM number. Matte stock is easy to handle and has less glare. Glossy paper gives stronger contrast but shows reflections and fingerprints. Satin falls between the two. Buy a small pack and print one card before ordering enough for a batch.
Common starting range
250 to 350 gsm
Only when the printer explicitly supports that stock.
Lowest glare
Matte
Easy to view and less likely to show fingerprints.
Most reflective
Glossy
Can produce vivid color but highlights surface marks.
Best first purchase
Small sample pack
Test feed, color, drying, cutting, and sleeve fit.
On this page +
- 01There is no universal best paper for every photocard
- 02Compare photocard paper by finish and workflow
- 03How matte, satin, and glossy surfaces change reflected light
- 04Match the coating and feed path to the printer
- 05Test a paper before buying a large pack
- 06Treat lamination and double-sided printing as separate tests
- 07Common mistake: choosing by GSM alone
There is no universal best paper for every photocard
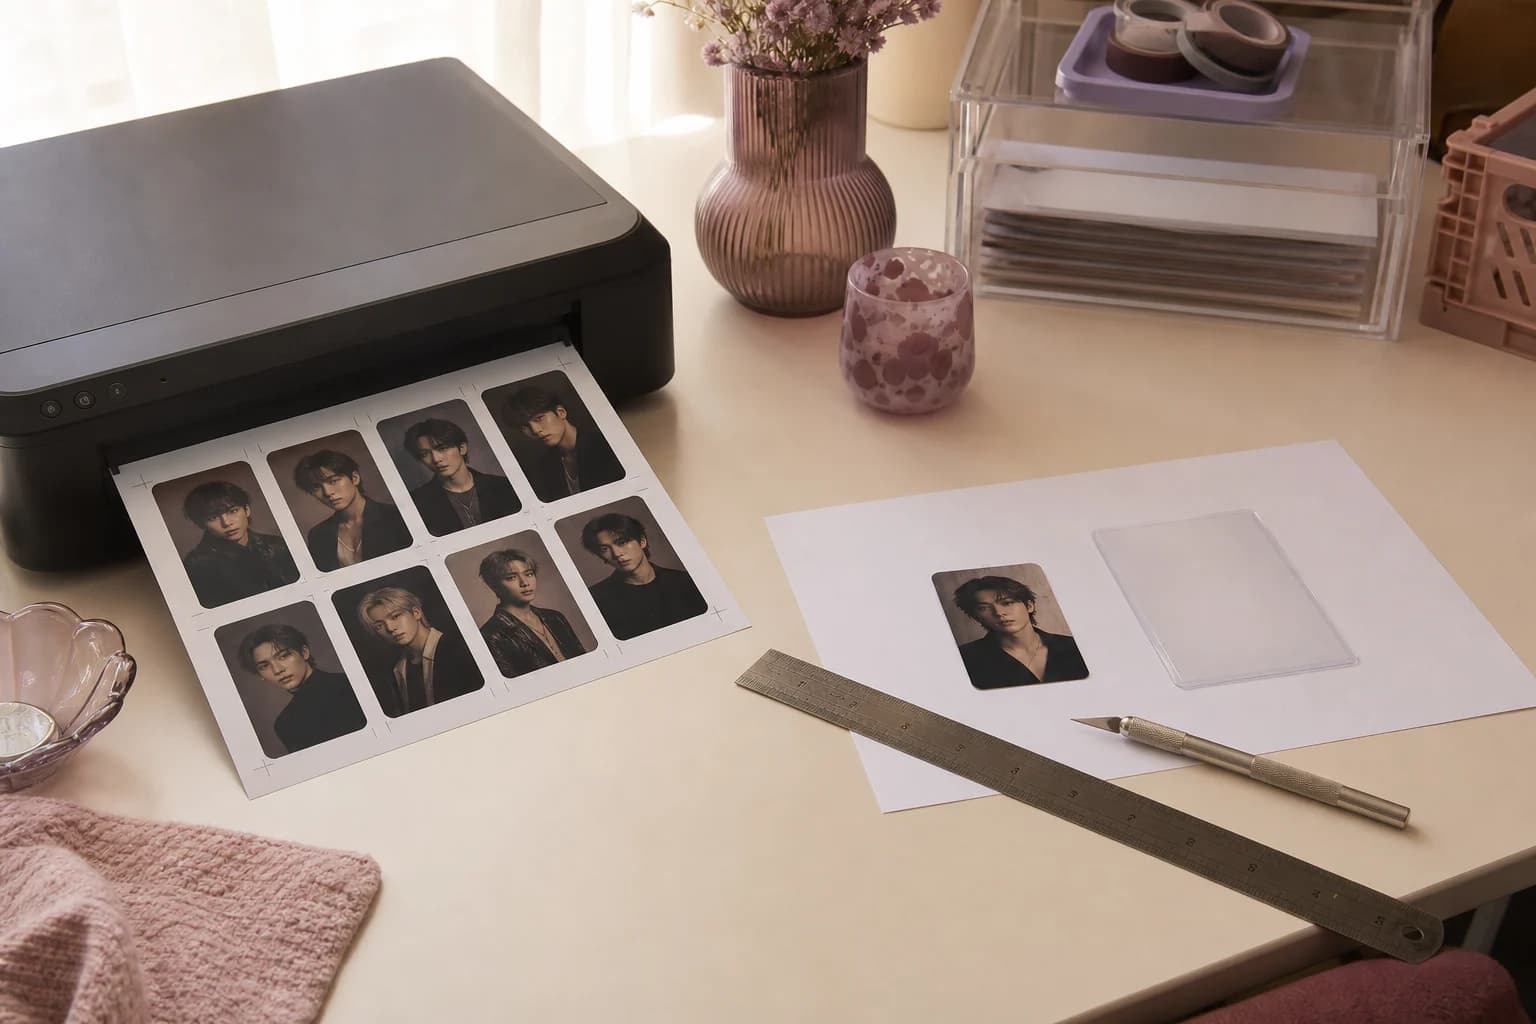
Paper that feels perfect in your hand can still be wrong for the printer. The coating has to accept the ink or toner, the sheet has to feed without jamming, and the finished card still needs to cut cleanly and fit its sleeve.
Read the printer manual before sorting products by GSM. Check the supported media, feed path, and maximum thickness. GSM tells you the mass of one square meter, not exactly how stiff the sheet will feel. Two 300 gsm papers can behave very differently.
If your printer supports heavy stock, try a few coated papers between 250 and 350 gsm. Treat that as a test range, not a rule. A lighter photo paper may work better at home, and a print shop is often the simpler answer when the printer struggles with card stock.
Compare photocard paper by finish and workflow
Use the table to narrow the choice, then check the exact paper specification before you buy.
| Paper | Strengths | Trade-offs | Good fit |
|---|---|---|---|
| Matte coated cardstock | Low glare, controlled color, fewer visible fingerprints, easy to write on some stocks | May look less saturated than glossy media; heavy sheets need compatible feed | Readable fan-made cards, soft concepts, frequent handling |
| Glossy photo paper | High apparent contrast, vivid color, familiar photographic finish | Glare and fingerprints; some products are one-sided or relatively flexible | Bright digital artwork and display-focused cards |
| Satin or semi-gloss | Balanced sheen, strong color, less reflection than full gloss | Availability and surface names vary by brand | A middle ground when matte feels flat and gloss feels too reflective |
| Uncoated cardstock | Natural texture, easy handling, often suitable for writing | Can absorb ink, soften fine detail, and reduce contrast | Illustrative, handmade, or intentionally tactile concepts |
| Synthetic or waterproof media | Moisture resistance and durability without paper fibers | Printer compatibility, drying, cutting, and cost require careful testing | Special-purpose cards when the printer explicitly supports the material |
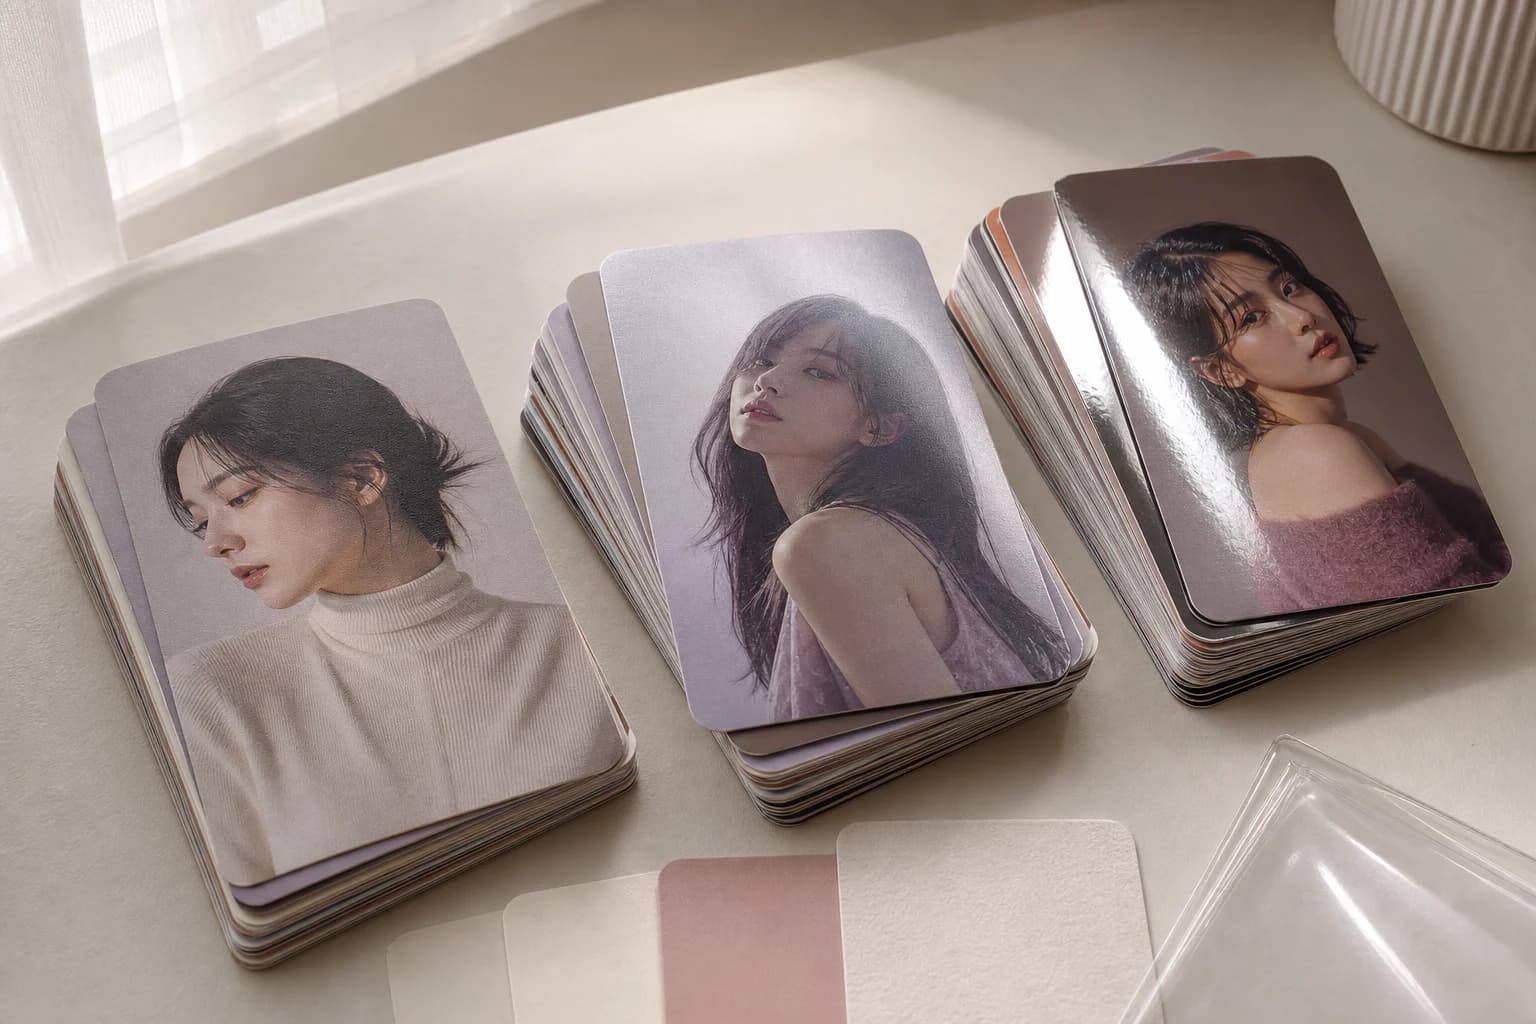
How matte, satin, and glossy surfaces change reflected light

Match the coating and feed path to the printer
Inkjet coatings are made for liquid ink. Laser stock has to cope with toner and the heat inside the printer. If the pack only says inkjet, do not put it through a laser printer. Use a paper type supported by both the paper maker and the printer manual.
Thick stock usually prefers a straight or rear feed path. Load the printable side correctly and feed one sheet at a time when the manual recommends it. Stop if you hear clicking, see a bent corner, or notice roller marks.
Choose the closest media setting in the print driver. It can change the ink amount, drying time, feed speed, and printhead gap. The plain-paper setting may look washed out on coated stock, while a heavy ink setting can leave another surface wet.
Test a paper before buying a large pack
- ✓The printer manual supports the paper type and stated weight or thickness.
- ✓The sheet feeds without bending, scraping, roller marks, or repeated misalignment.
- ✓Ink or toner is dry and firmly attached before cutting or stacking.
- ✓Skin tones, black areas, gradients, and saturated decorations remain usable in normal light.
- ✓The coating does not crack or peel along a clean cut.
- ✓The finished card and any laminate fit the intended sleeve without bowing.
- ✓The surface looks good after normal handling, not only immediately after printing.
Treat lamination and double-sided printing as separate tests
Lamination makes a card stiffer and more resistant to handling, but it also adds glare and thickness. It can change the color and make a once-perfect sleeve too tight. Test the adhesive, heat, edge seal, and final cut on a spare card.
For a printed back, buy paper made for both sides or use a separate mounting method. The reverse of one-sided photo paper may reject ink. Home duplex printing can also shift the back, so run a measured test before adding a thin border that needs exact alignment.
Change one thing at a time. If you test new paper, new print settings, lamination, and double-sided alignment in one batch, a failed card will not tell you what went wrong.
Questions people ask
Frequently asked questions
What GSM paper is best for photocards?
A useful test range is 250 to 350 gsm, but only if the printer supports it. Check the weight and thickness limits, then choose the heaviest paper that feeds cleanly.
Is glossy or matte paper better for photocards?
Glossy paper emphasizes color and contrast but shows glare and fingerprints. Matte paper is easier to view and handle but may look less saturated. Satin offers a useful middle ground.
Can I use regular cardstock for photocards?
Yes, if the printer supports it. Uncoated stock can soak up ink and soften fine detail, so test the exact coating, weight, and thickness before buying a large pack.
Should I laminate fan-made photocards?
Lamination is optional. It protects the surface but also adds thickness and glare. Laminate one card and test it in the intended sleeve before doing the batch.
Can photo paper be printed on both sides?
Only if the paper is sold as double-sided or both surfaces are compatible with the printer. One-sided photo paper often has a backing that is not designed to accept ink.
On this page +
- 01There is no universal best paper for every photocard
- 02Compare photocard paper by finish and workflow
- 03How matte, satin, and glossy surfaces change reflected light
- 04Match the coating and feed path to the printer
- 05Test a paper before buying a large pack
- 06Treat lamination and double-sided printing as separate tests
- 07Common mistake: choosing by GSM alone