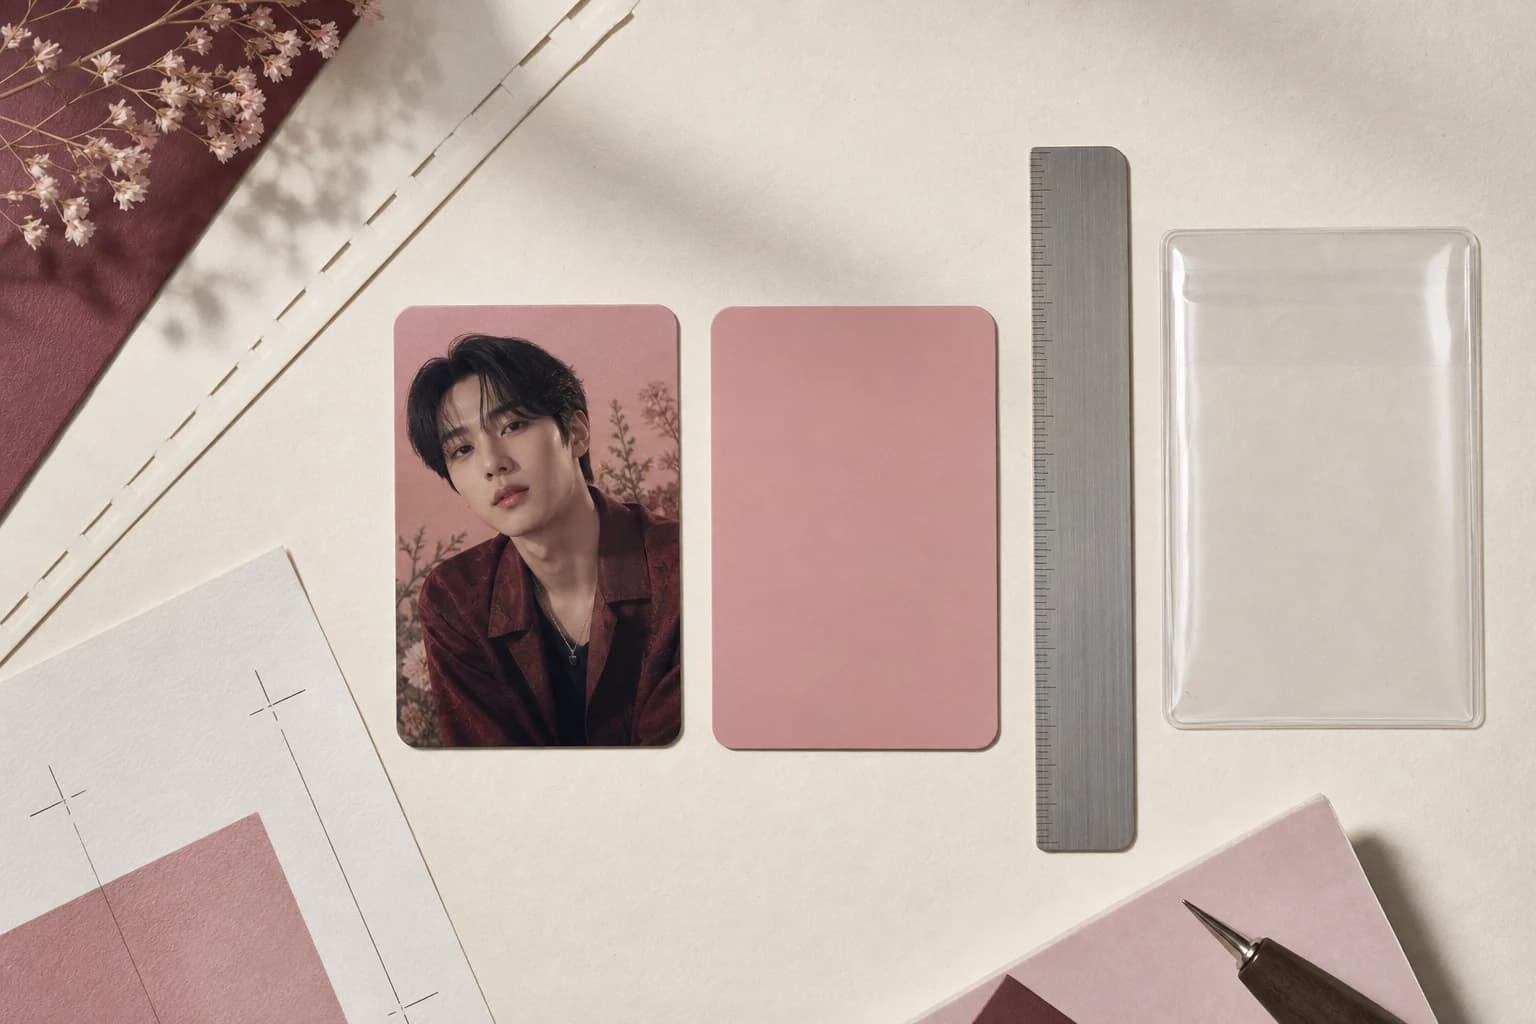
How to make a fan-made K-pop photocard from your own photo
Turn a photo you are allowed to use into a fan-made K-pop photocard, then check the preview and choose the right export.
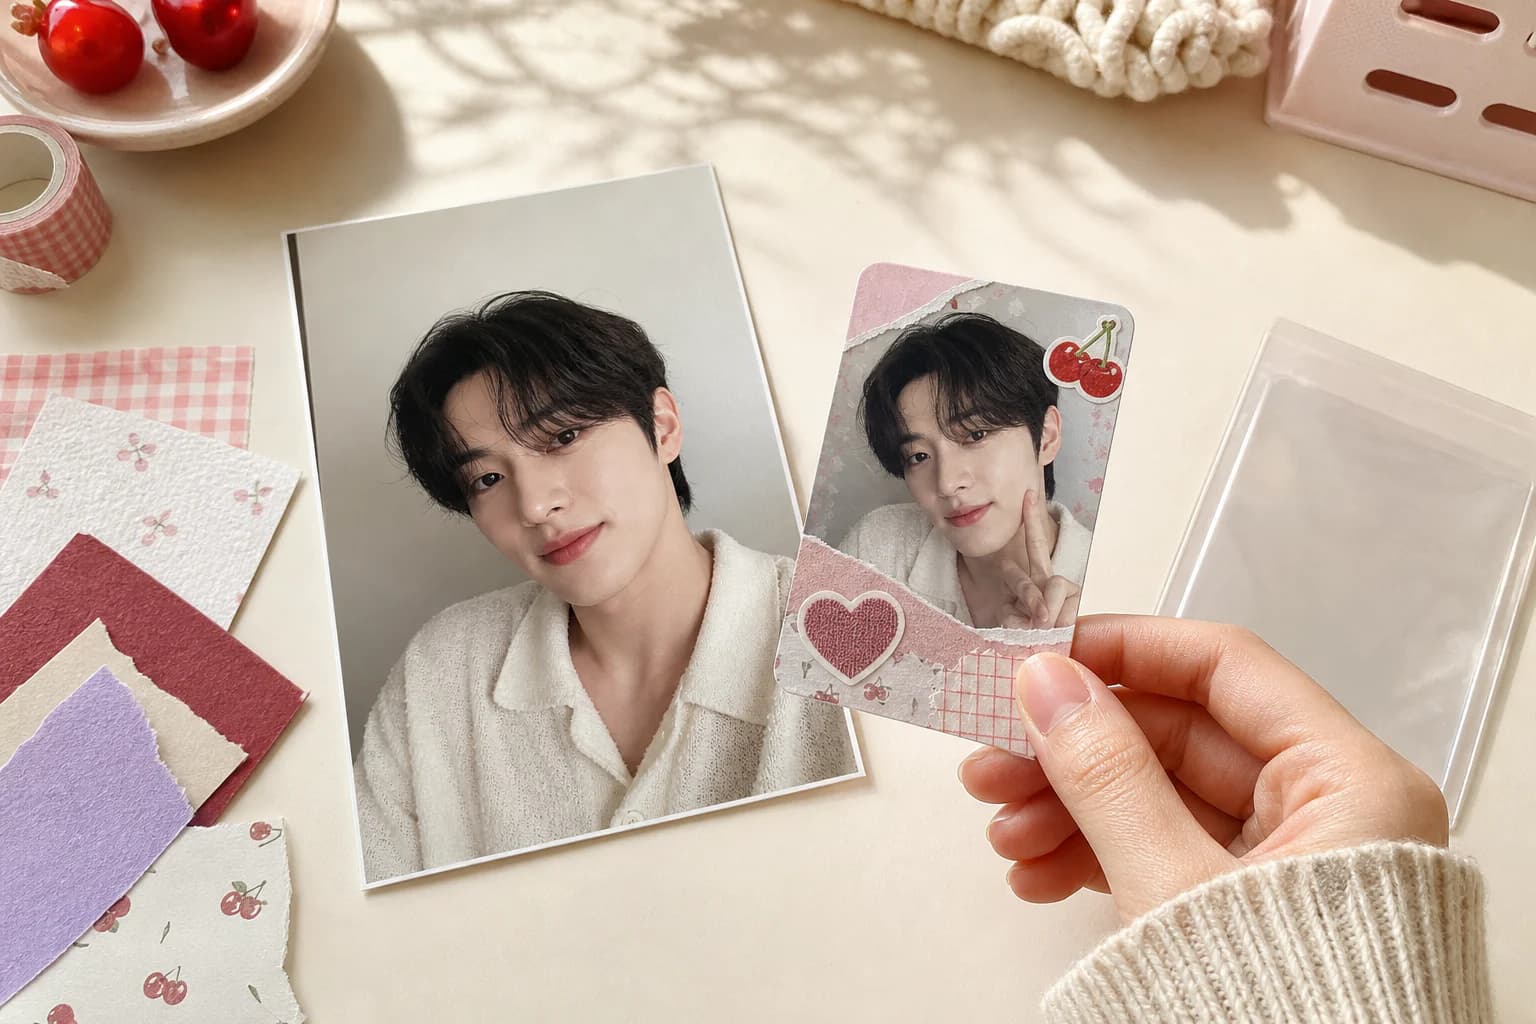
Quick answer
Start with a sharp portrait that you own or have permission to use. Pick an original concept, generate one preview, and compare the face with the source before you worry about the styling. Check the crop, hands, and any visible words too. Export at 55 × 85 mm, call the result fan-made, and do not present it as official merchandise.
Best source
One clear portrait
Visible face, even light, and space around the subject.
Finished size
55 × 85 mm
Use a 61 × 91 mm canvas when print bleed is required.
First review
Clean preview
Check the generated result before unlocking HD exports.
Responsible label
Fan-made
Do not imply official artist or label endorsement.
On this page +
- 011. Prepare a source photo that gives the design room to work
- 022. Choose an original concept that suits the portrait
- 03The complete make-and-check workflow
- 043. Generate once, then review the preview carefully
- 054. Export the file that matches the next task
- 065. Label and share the card responsibly
- 07Common mistake: choosing style before checking the portrait
1. Prepare a source photo that gives the design room to work
A clear portrait does more for the result than a complicated prompt.
- ✓Use a JPG, PNG, WebP, or HEIC file under the current upload limit.
- ✓Choose one clearly visible face with the eyes, nose, mouth, and jaw unobstructed.
- ✓Prefer even, natural-looking light over a face hidden by hard shadow or colored glare.
- ✓Leave some space around the head and shoulders so a portrait crop does not feel cramped.
- ✓Avoid screenshots that have already been compressed, sharpened, filtered, or watermarked several times.
- ✓Upload only an image you own or have permission to transform.
2. Choose an original concept that suits the portrait
A template sets the scene, border, decoration, and light. It should not turn the person into a celebrity or copy an official card. The public templates on Photocard.ai are original art directions built around the portrait you upload.
Work with the photo you have. A tight headshot suits a face-led design. A photo with more shoulder and body space gives a photobooth or album concept more room. Strong colored light in the source is hard to hide, so choose a concept that can use it.
Read the template description first. Empty portrait frames can be part of the decoration; they do not always mean the generator should add more people. For a group card, use the multi-photo option and check that each person appears once.
- Birthday edits work best when you want playful props and warm color.
- Album concepts give the portrait a more deliberate editorial setting.
- Photobooth concepts use repeated frames and tighter, more casual crops.
The complete make-and-check workflow
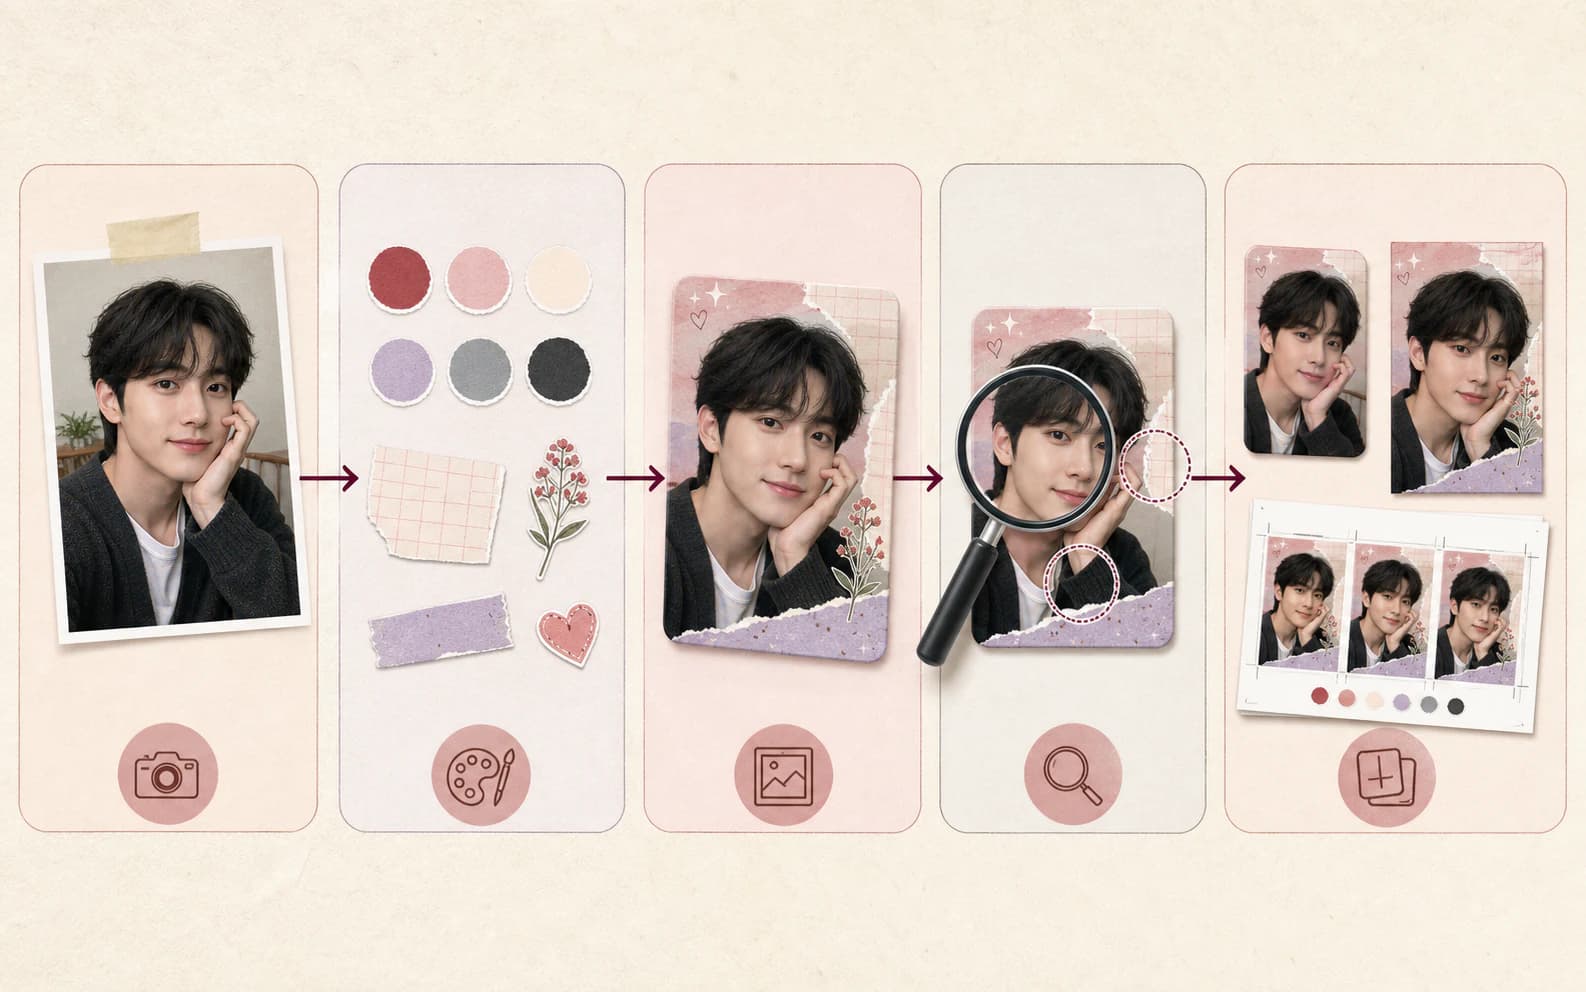
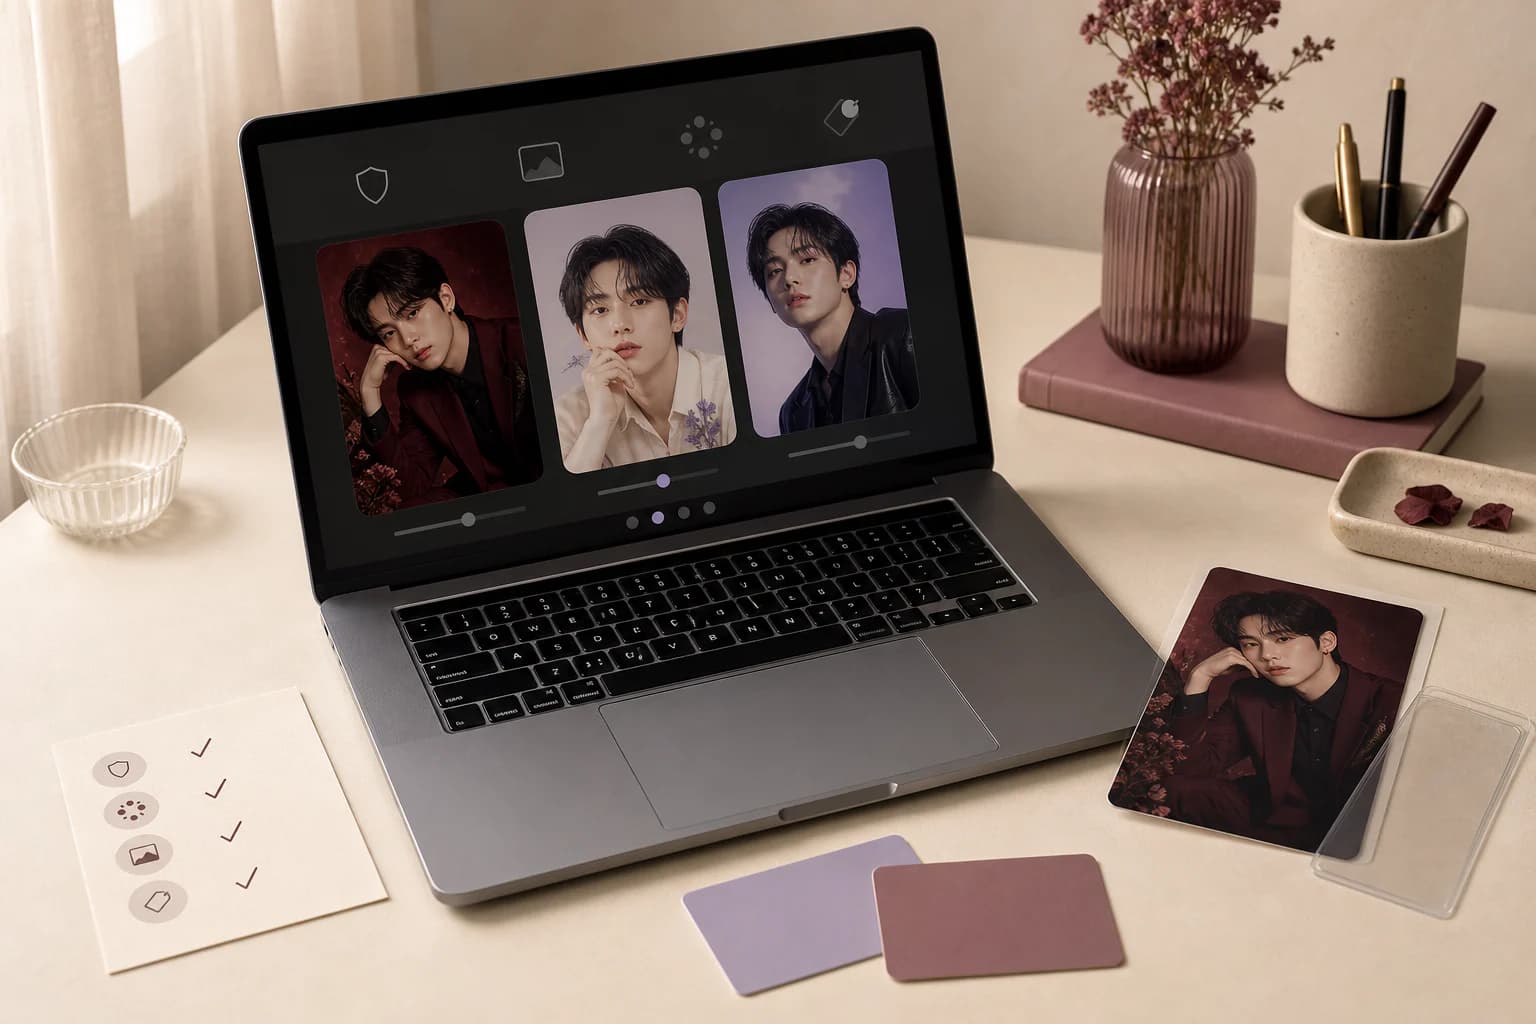
3. Generate once, then review the preview carefully
The overall mood can look convincing even when small details are wrong. Start with the face and work outward.
- 01
Confirm identity
Put the preview beside the source. Compare the eyes, expression, gaze, face shape, and details that make the person recognizable. Stop if it looks like someone else.
- 02
Check anatomy and count
Count the people first. Then check hands, hair edges, earrings, and places where a person overlaps the decoration.
- 03
Read every visible word
Generated lettering is often nonsense. Remove or replace anything that looks wrong before you share the card.
- 04
Inspect the crop
Keep the face and important decoration inside the 55 × 85 mm trim. Anything that matters should not depend on the 3 mm bleed area.
- 05
Decide whether to continue
The clean preview is there for this decision. If the generation failed or the face changed, make another one instead of treating it as finished.
4. Export the file that matches the next task
| Export | Best for | Important detail |
|---|---|---|
| 55 × 85 mm trimmed PNG | Clean digital card or printer that does not request bleed | 2477 × 3826 pixels |
| 61 × 91 mm full-bleed PNG | Professional printing and custom layout work | 2747 × 4096 pixels with 3 mm bleed |
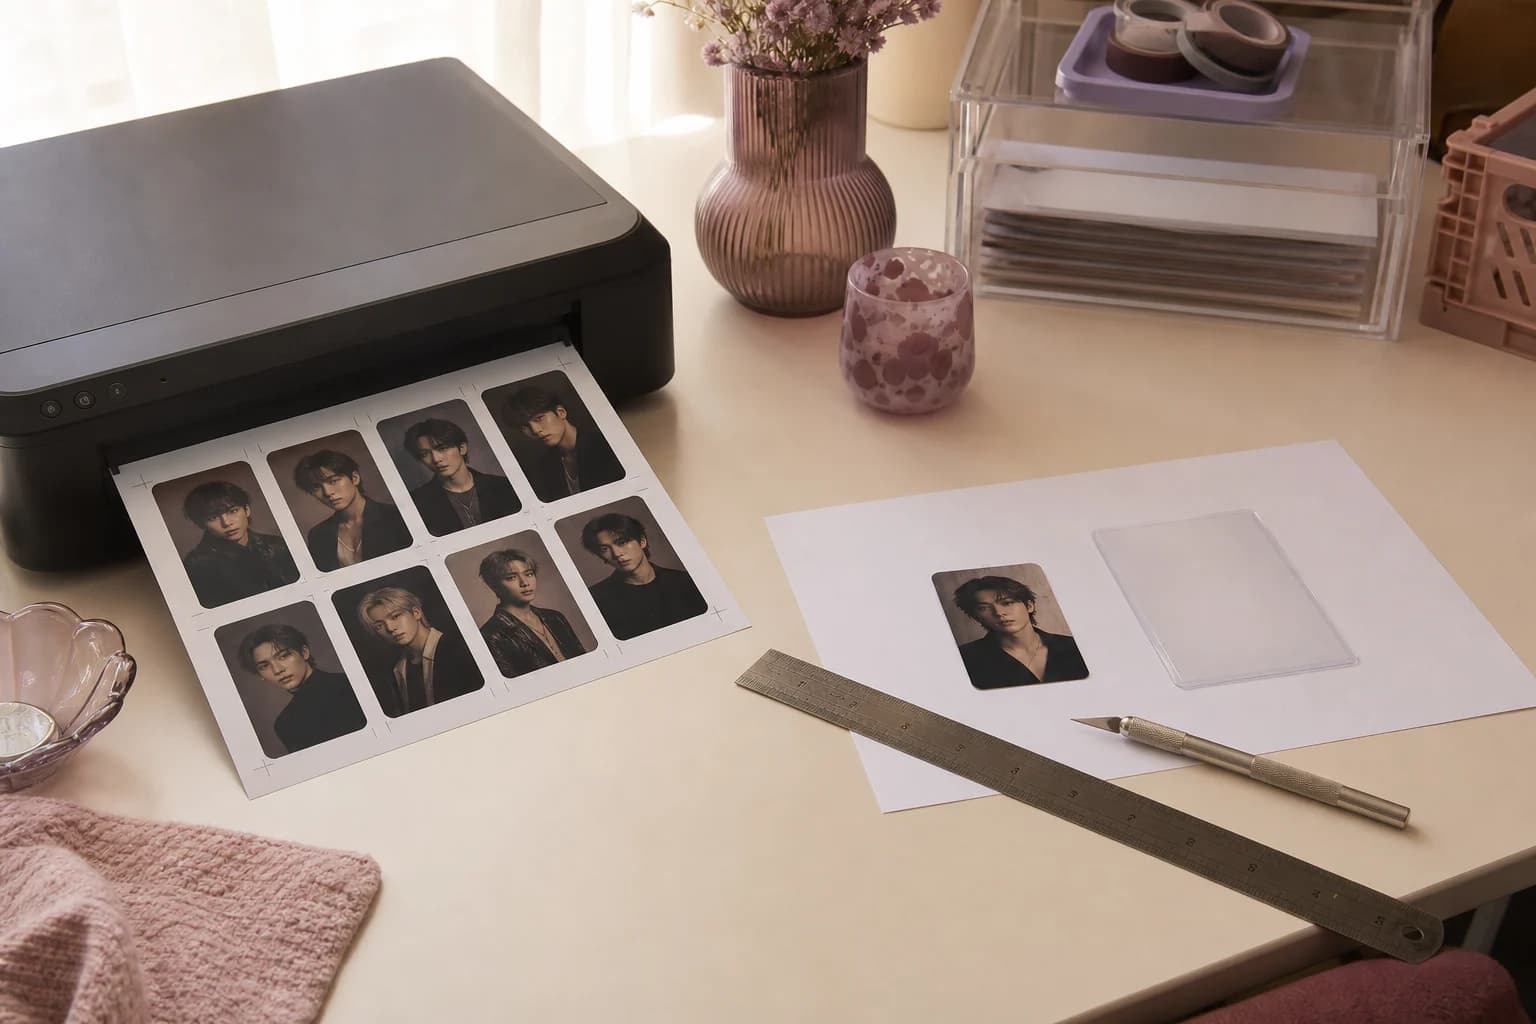
| A4 Print Kit | Home or shop printing on A4 paper | Eight cards with crop marks |
| US Letter Print Kit | Home or shop printing on US Letter paper | Eight cards with crop marks |
| Social formats | Story, TikTok, or X sharing | Designed for screens rather than measured print output |
Native 4K and Print Kit files stay private. The clean low-resolution preview is useful for checking and public sharing, but it is not the high-resolution print file.
Questions people ask
Frequently asked questions
Can I make a K-pop photocard from my own photo?
Yes. Use a clear portrait you own or are allowed to transform, choose an original concept, check the preview, and describe the result as fan-made.
What type of photo works best for a photocard?
Use a sharp portrait with one visible face, even lighting, and enough space around the head and shoulders. Avoid heavily compressed screenshots and strong filters that hide facial detail.
Do I need design software to make a photocard?
Not for the basic Photocard.ai workflow. The maker handles the concept, card proportions, preview, and exports. You only need separate design software if you want to add your own authorized finishing touches.
How do I keep the person recognizable?
Start with a clear face and compare the preview directly with the source. Do not export a result that changes the person's recognizable features.
Can I sell a fan-made photocard?
The creation tool does not give you commercial rights. Before selling, make sure you have permission for the source photo and any protected names, logos, characters, or artwork involved.
On this page +
- 011. Prepare a source photo that gives the design room to work
- 022. Choose an original concept that suits the portrait
- 03The complete make-and-check workflow
- 043. Generate once, then review the preview carefully
- 054. Export the file that matches the next task
- 065. Label and share the card responsibly
- 07Common mistake: choosing style before checking the portrait