How to print your photocards
Print at the correct size with an A4 or US Letter sheet, Actual Size settings, crop marks, and one measured proof.
Quick answer
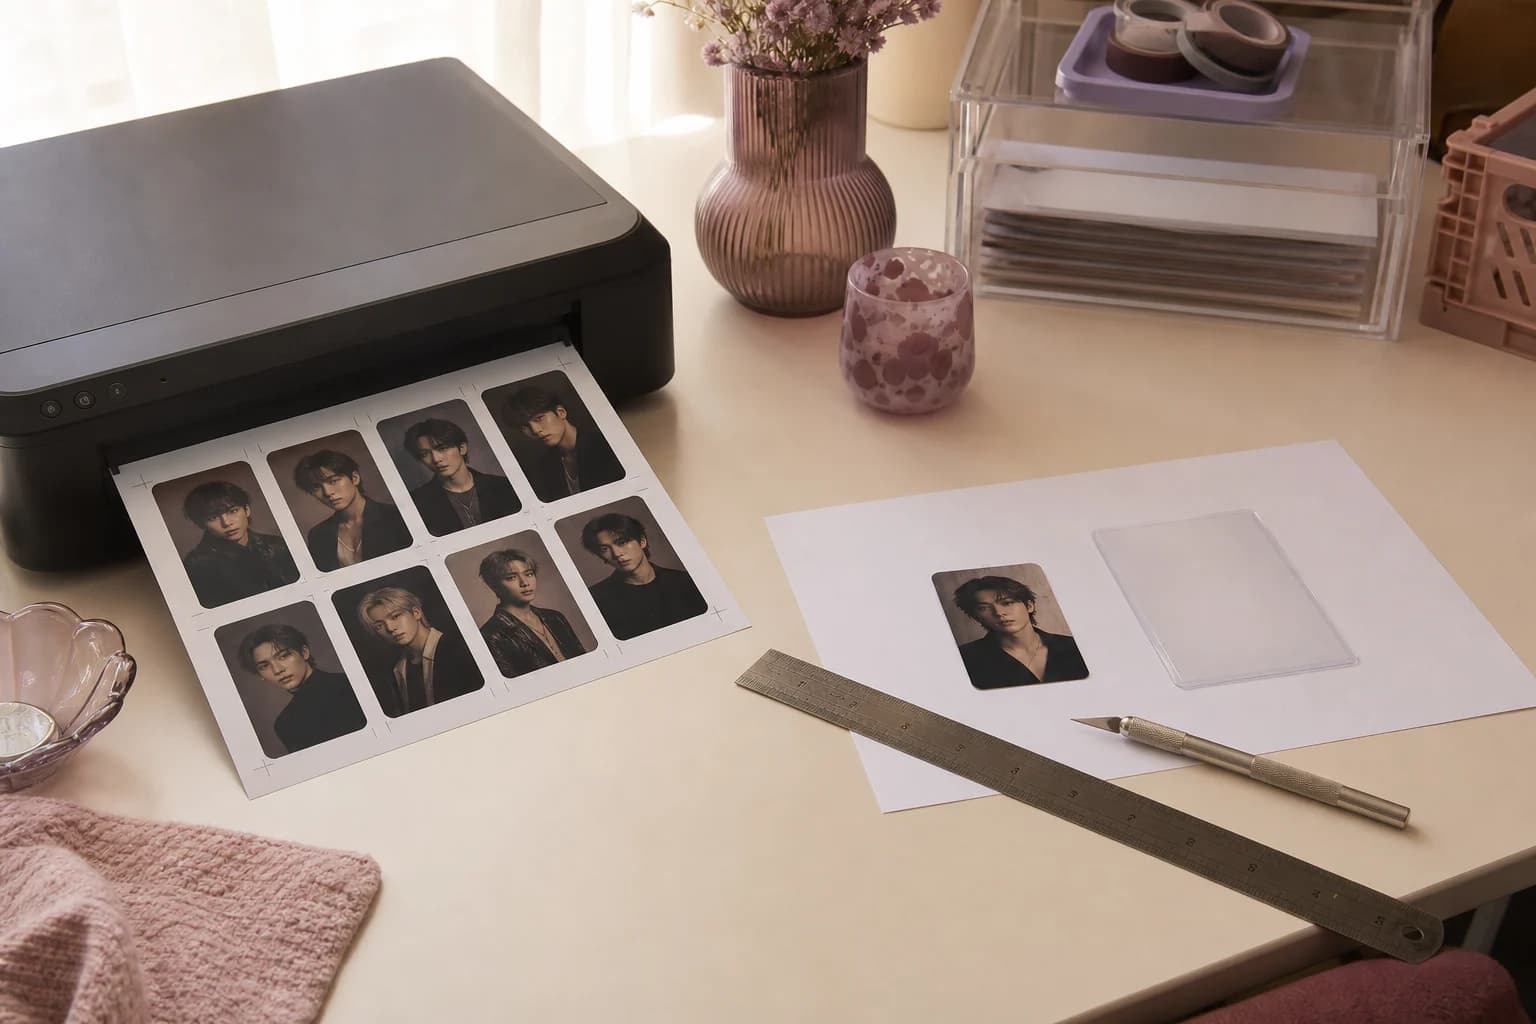
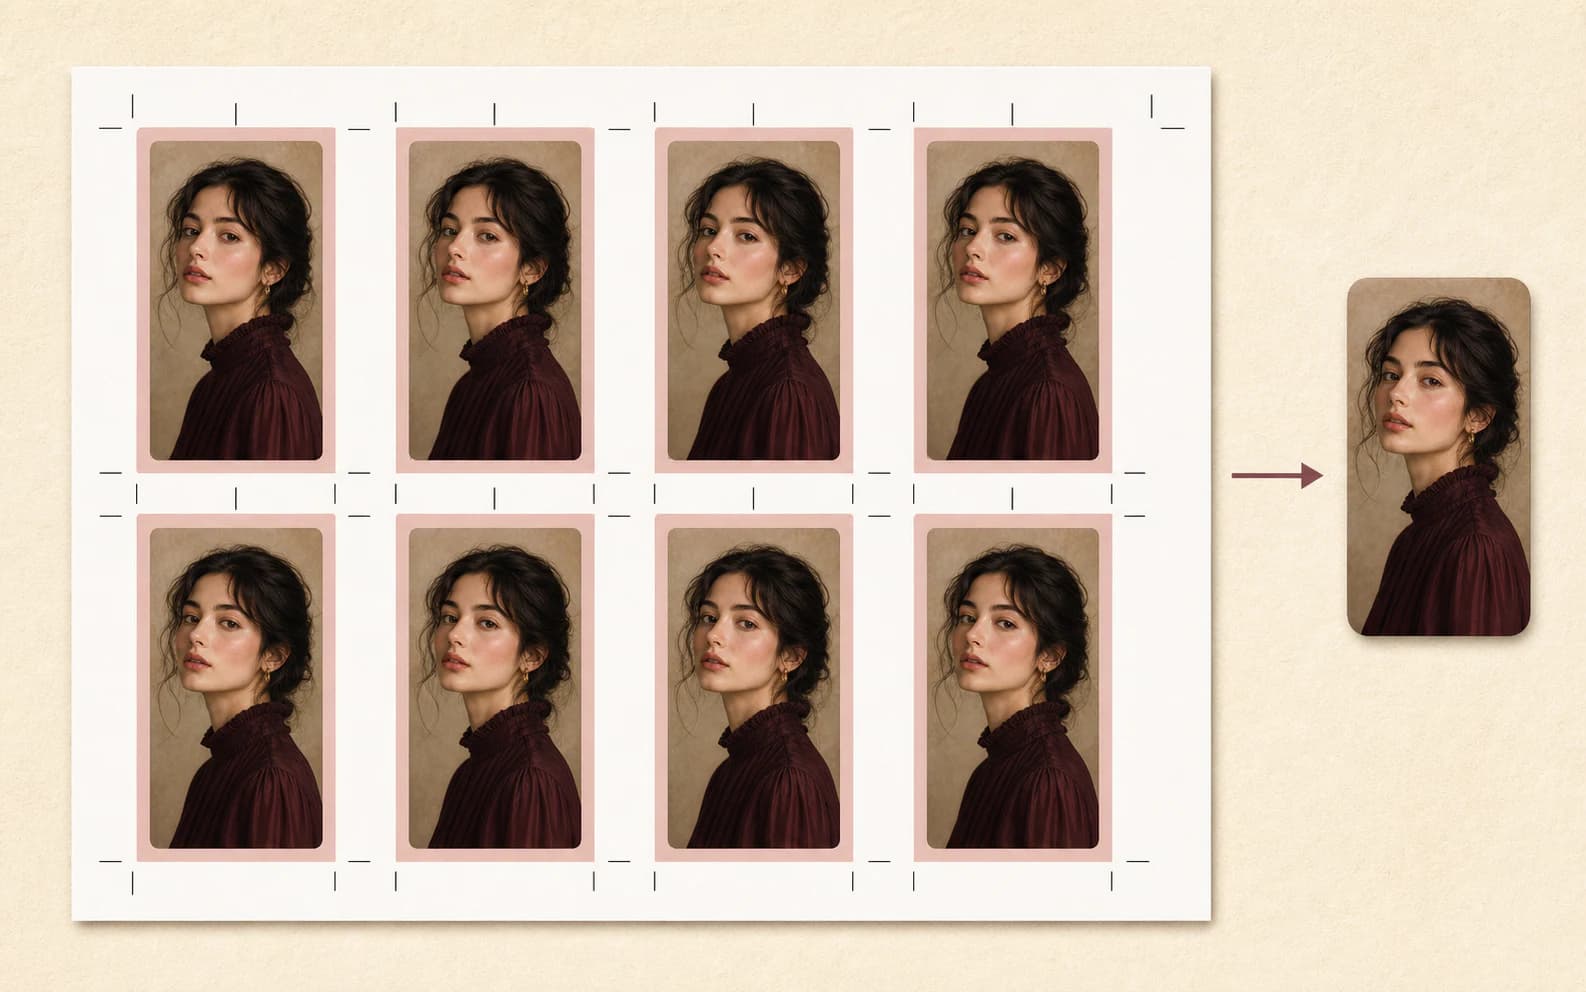
Use the A4 or US Letter Print Kit that matches the paper in your printer. Each sheet holds eight cards and includes crop marks. Choose 100% or Actual Size in the print dialog, not Fit to Page. Print one sheet first, measure a 55 × 85 mm card, check the color, and only then cut the rest.
Finished card
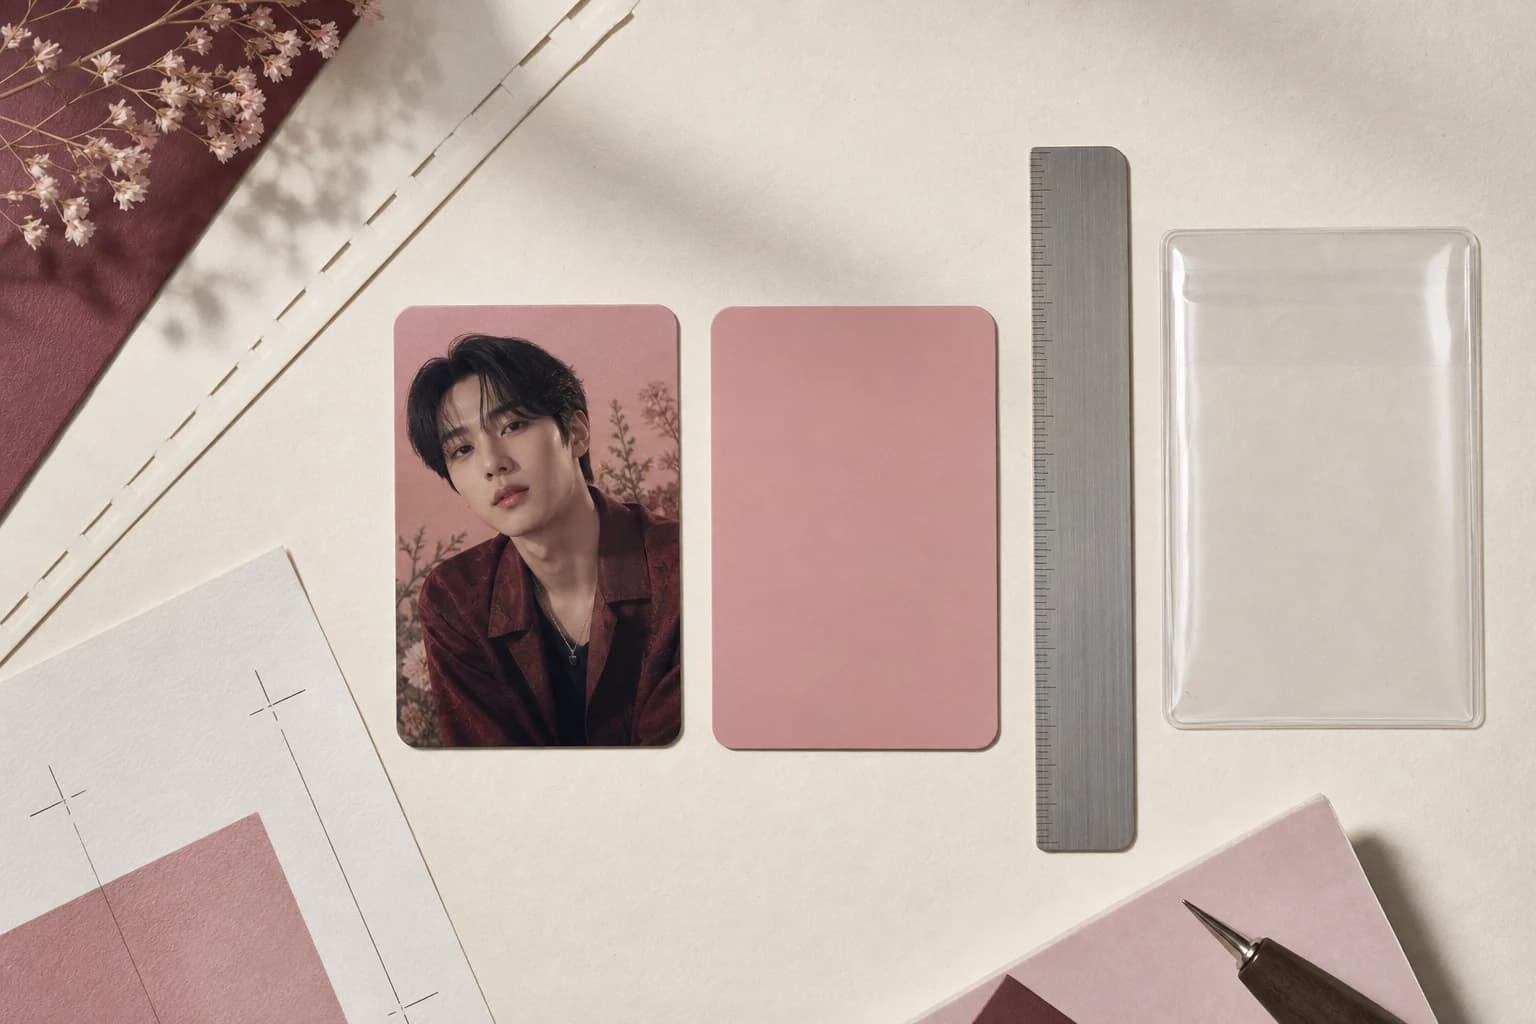
55 × 85 mm
Measure this after trimming the bleed.
Print sheets
A4 or US Letter
Choose the PDF that matches the paper loaded.
Cards per page
Eight
Photocard.ai Print Kits include crop marks.
Printer scale
100% / Actual Size
Disable Fit, Shrink, and borderless enlargement.
On this page +
- 01Why are my DIY photocards blurry?
- 021. Choose the file that matches the printing method
- 03How the Print Kit and crop marks fit together
- 042. Set the printer to preserve the document size
- 053. Print one proof before committing a full batch
- 064. Choose home printing or a print shop by the result you need
- 075. Trim through the crop marks in a safe order
- 08If the card is the wrong size, fix scaling before editing the design
Why are my DIY photocards blurry?
Check the saved photo before changing your printer settings. A small idol selfie, a screenshot or a heavily compressed image may look clear on your phone but become soft when it fills a photocard. Cropping a group photo down to one face leaves even fewer pixels for the finished card.
Open the source at its actual pixel size. If the face is already blurred or blocky, look for a higher-resolution original or a sharper frame first. You can try K-pop Photo Enhancer on the photo you have: start with 2×, compare the result with the original, and bring the version you prefer into Maker. Enhancement uses 1 HD credit; making a card is charged separately.
If the source looks clear but the printed card does not, check that you exported the final print file instead of a screenshot of the preview. Then check paper, print quality and scaling. Image enhancement cannot correct a printer setup problem. Print one card before preparing a batch of concert freebies.
1. Choose the file that matches the printing method
For a home printer or copy shop, the Print Kit is the easiest place to start. Both the A4 and US Letter PDFs put eight cards on one page and include crop marks. Pick the PDF that matches the sheet in the printer. Using the wrong paper size often makes the print dialog scale the page.
A professional printer may ask for one image per card. In that case, send the 61 × 91 mm full-bleed PNG and state that the finished card should be 55 × 85 mm with 3 mm trimmed from each edge. Send the clean 55 × 85 mm PNG only if the shop asks for artwork without bleed.
The clean 720px preview is for checking a generation, not for printing the final card. Use the private master or the prepared Print Kit for the real print.
How the Print Kit and crop marks fit together
2. Set the printer to preserve the document size
Printer menus use different names, so check these settings each time.
- ✓Paper size matches the PDF: A4 for the A4 Print Kit or US Letter for the Letter Print Kit.
- ✓Scale is 100% or Actual Size.
- ✓Fit to Page, Shrink Oversized Pages, and automatic enlargement are disabled.
- ✓Orientation matches the prepared PDF and is not being rotated unexpectedly.
- ✓The selected media type matches the paper coating and weight.
- ✓High or best quality is selected for the measured proof, if the printer and paper support it.
- ✓Borderless mode is off unless a separate workflow has been measured and tested.
3. Print one proof before committing a full batch
A screen cannot tell you whether the card is the right physical size or how the ink will look on the paper.
- 01
Use the intended paper
Office paper is fine for checking scale. Use the final stock before judging color, drying, surface, or how well the printer feeds it.
- 02
Measure before cutting everything
Measure between the crop marks and confirm a 55 × 85 mm finish. If it is wrong, fix the print scale instead of changing the artwork.
- 03
Inspect color in normal light
Look at skin tones, shadows, bright colors, and gradients in the room where you will handle the cards. Paper reflects light, so it will not look exactly like the screen.
- 04
Let the sheet stabilize
Give coated paper the drying time recommended by its maker. Cutting or stacking it too soon can mark the surface.
- 05
Test the intended storage
Trim one card and put it in the sleeve or binder pocket you plan to use. If you will laminate the batch, test the added thickness too.
4. Choose home printing or a print shop by the result you need
| Decision | Home printer | Print shop |
|---|---|---|
| Best use | Quick proofs, small personal batches, and frequent iteration | Consistent larger batches or equipment you do not own |
| File to provide | Matching A4 or US Letter Print Kit | Ask whether the shop wants the PDF or individual 61 × 91 mm PNG |
| Scale control | You choose 100% or Actual Size | State the 55 × 85 mm finished size and request a measured proof |
| Color control | Depends on ink, driver, paper profile, and maintenance | Ask about proofing, supported files, and the shop's standard workflow |
| Finishing | You cut, corner-round, and optionally laminate | May offer cutting and finishing; confirm tolerances and price |
5. Trim through the crop marks in a safe order
Put the sheet on a cutting mat and line up a metal ruler with matching crop marks. Use a sharp craft blade or a paper trimmer that cuts square. Keep your fingers out of the path and make a few controlled passes instead of forcing a dull blade through thick stock.
Leave some of the outside paper attached as you work. It keeps the remaining crop marks visible and gives the ruler a stable edge. Cut parallel sides in the same order, then measure the first finished card before continuing.
Corner rounding is optional. Try the punch on a scrap first because its radius can eat into a thin border. If the cards are laminated, follow the laminate maker's cutting and sealing instructions.
Questions people ask
Frequently asked questions
What printer setting should I use for photocards?
Choose the paper size that matches the PDF and select 100% or Actual Size. Turn off Fit to Page, shrinking, and borderless enlargement, then measure one proof.
Can I print photocards on a home printer?
Yes, if the printer supports the chosen paper size, coating, and weight. Use a matching Print Kit, test one sheet, and confirm the printer can feed the stock reliably.
Should I use A4 or US Letter for photocards?
Use the PDF that matches the paper in the printer. Printing the A4 file on US Letter paper, or the other way around, can shift or scale the layout.
Why did my printed photocard come out too small?
The printer probably resized the page because Fit, Shrink, or the wrong paper size was selected. Choose 100% or Actual Size and measure a new 55 × 85 mm proof.
Do I need bleed when printing photocards?
Bleed is recommended when artwork reaches the card edge. Photocard.ai's full-bleed file is 61 × 91 mm so 3 mm can be trimmed from every side to reach 55 × 85 mm.
How many photocards fit on one Print Kit page?
Photocard.ai's A4 and US Letter Print Kit PDFs each place eight cards on a page and include crop marks for trimming.
On this page +
- 01Why are my DIY photocards blurry?
- 021. Choose the file that matches the printing method
- 03How the Print Kit and crop marks fit together
- 042. Set the printer to preserve the document size
- 053. Print one proof before committing a full batch
- 064. Choose home printing or a print shop by the result you need
- 075. Trim through the crop marks in a safe order
- 08If the card is the wrong size, fix scaling before editing the design